It was a cool, grey morning – quite fall-ish, if I may say. What started as a quick walk to take the dog outside (we’re watching her while my parents travel) turned into a spontaneous nature walk.
As I watched my kids get more and more excited about bringing the goods home (“Wait! I’ll go get bags for us!!”), I let the schedule fall by the wayside and just observed them, and thought hey! This counts as science, right?!
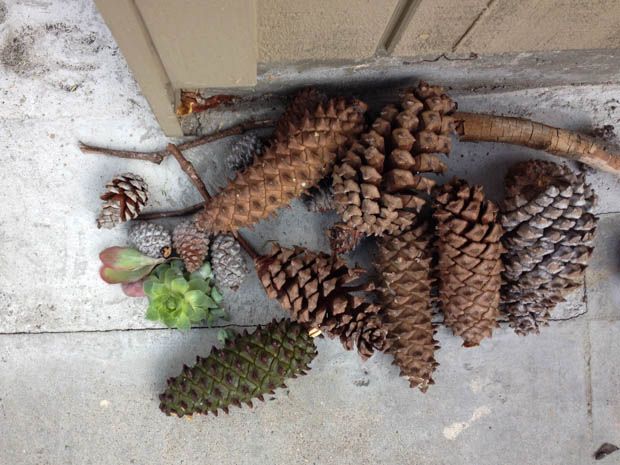
We don’t get nearly as much fall color down here in Southern California as Tsh gets in Bend, but we do have a few pretty trees on our street that have started dropping their leaves, and we have plenty of pinecones in our neighborhood, too.
The pinecones (my daughter insisted on collecting as many as she could carry in her bag- she found many more after I snapped this photo) are to decorate the front patio (apparently) and some may get painted as well. Sticks are always a favorite find for my son.
The leaves, unfortunately, will soon fade to messy crunchiness. I quickly perused my Autumn Pinterest board but didn’t find any way of preserving them that really appealed at the moment. But as I admired their color I though of the quilted wall hanging I made for this season hanging in my entry way.
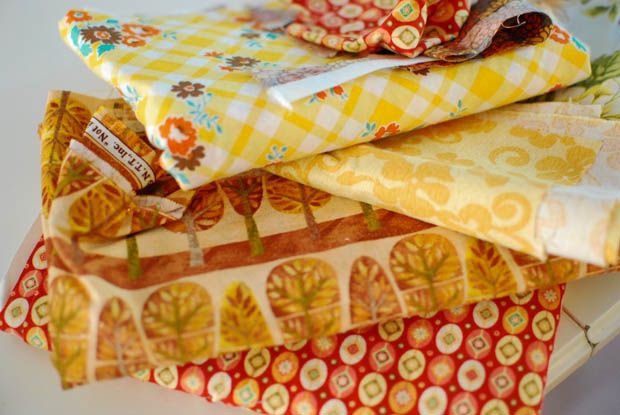
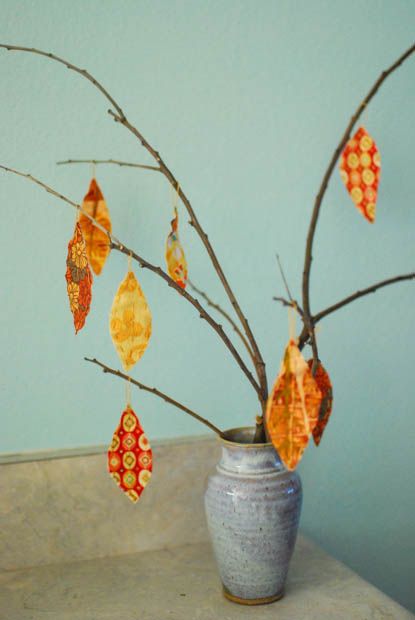
So I pulled a few autumn-colored fabrics out from my stash and brainstormed a bit about bringing that nature walk in– something simple– and came up with this cute little autumn tree.
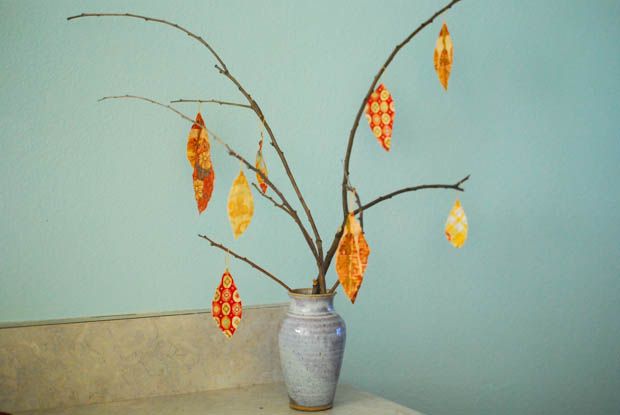
I’m already imagining creating new leaves for each season to keep my cute twig tree around all year round!
All you need for this project is: a few fabric scraps, a needle and thread or embroidery floss, scissors and a vase or jar filled with interesting twigs.
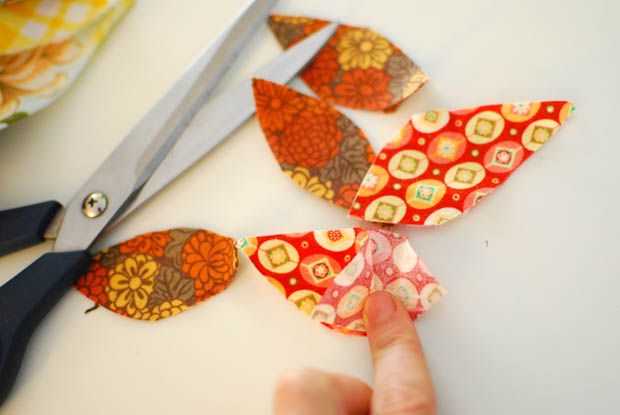
With fabric folded wrong sides together, cut out your leaves. I did mine free-hand, but you could trace some beautifully shaped leaves to cut out if you feel so inspired.
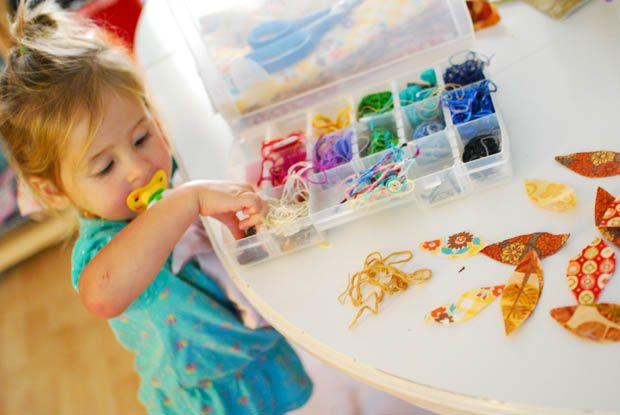
Choose your thread or embroidery floss. I used 2-3 strands of embroidery floss in a nice golden color. Hallee enjoyed disorganizing my floss while I worked.
Alternatively, you could sew these together simply with a sewing machine and then add a loop later for hanging, but I like the look of the hand-sewn stitches.
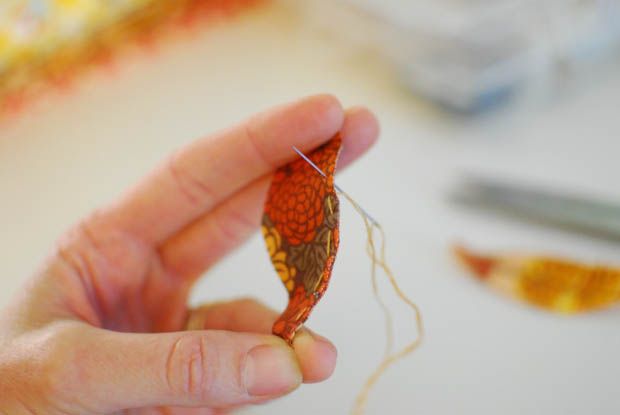
I did a simple running stitch, knotting the thread at the beginning. (Complete sewing novice? Start here for hand-sewing basics). The running stitch does have a tendency to want to cinch up, so as you sew, flatten it out with your fingers (although a tiny pit of puckering gives the leaves a little shape).
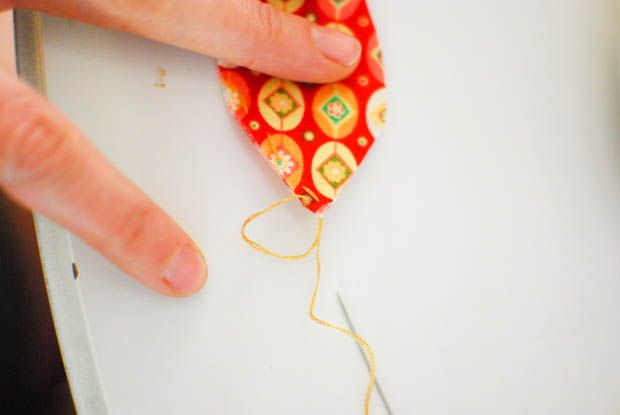
When you get done with one side of the leaf, use your finger to hold a loop in the thread, sew back through the leaf and tie a knot against the fabric to secure the loop from being pulled through. Then continue sewing down the other side of the leaf. It was a bit hard to photograph this step, but if you play around with it, you’ll find it’s easy to do.
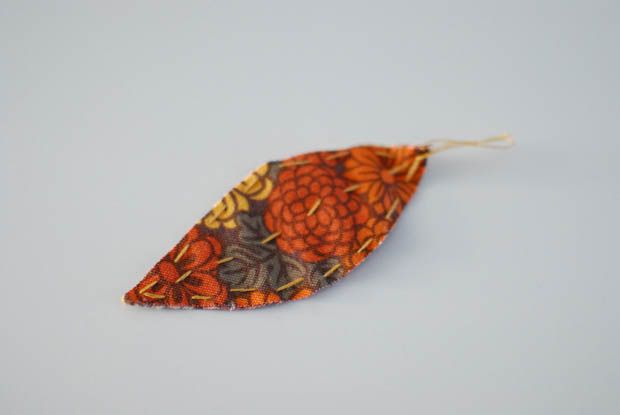
I also sewed a “vein” down the center of the leaf, then knotted my thread again and trimmed it off. Then you can hang the leaves on the tree.
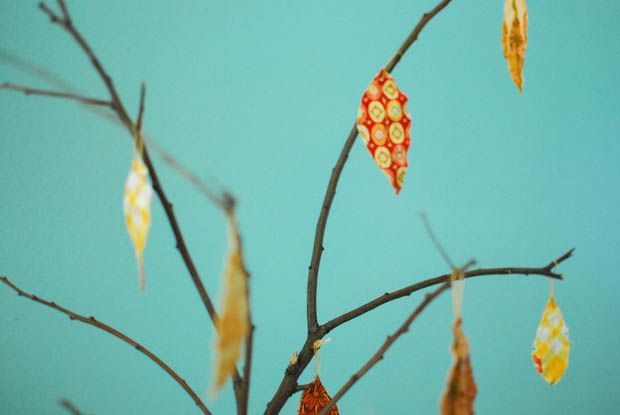
Another cute idea would be to embroider words on each leaf expressing things you’re thankful for– I might go back and add some words later!
Either way, it’s a simple, natural fall decoration showcasing a bit of nature and a bit of handmade cuteness. Don’t be afraid of imperfection with this project– enjoy how each unique leaf turns out, crooked stitches and all!
Happy Fall, y’all! How have you brought nature inside for autumn decor?


