


There’s something sweet about a toddler with her baby doll (his, too—my son loves his doll and animals as much as his sisters).
When we were preparing for baby number two, I made a baby carrier for my two-year-old daughter. I had loved wearing her in my handmade mei-tai, a gift from my sister-in-law, and wanted a simpler version for her to use with her favorite Molly the Dolly.
Now that my third baby is almost two, she’s at that perfect age for babydoll-wearing. She loves hanging out in the Ergo with me, and was thus sweetly excited to carry around her own baby in a mini mei-tai .
This is a simple project—I did it in two naptimes.
How to sew a mini mei-tai baby doll carrier
This mini mei-tai is the perfect size for a two- or three-year-old, but my almost-six-year-old still likes to squeeze into hers. All you need is basic sewing tools and scrap fabric that’s at least 31 1/2″ long and about 18″ wide.

First, cut out your fabric. I used a rotary cutter and rulers, but scissors and a measuring tape will work fine. Note the direction of the print if your fabric is directional.
Cut:
2 long straps, 3 x 31 inches- 2 short straps, 3 x 15 inches
- 2 main pieces, 7 3/4 (top/bottom) x 9 1/4 (sides) inches, or one bigger piece 7 3/4 x 18 1/2 (folded in half) inches

To make the straps, fold each one in half lengthwise (hot-dog style) and press it with an iron. Pin along the long side and one short side, then sew a quarter-inch seam down the one long side and one short side.


Turn the straps inside out. (I use a fat, dull knitting needle that I stole from my mom’s stash. Stick in the knob end rather than the pointy end, if you use one.)

Press your straps with an iron, then top-stitch around three sides. A contrasting thread works well here.

Four finished straps.
Now comes the part that seems tricky, but it’s really not. Refer to the photos for clarity.

1. Lay the long straps at the top of the main piece—stick the unsewn ends out one of the shorter sides about a quarter-inch. Gently fold them back up that same side.
2. Do likewise with the short straps—their unsewn ends will stick out a bit at the bottom of each of the main piece’s longer sides. Line them up just above the fold, or if you used two pieces for the main part, lay them about 5/8″ above the bottom. Position all the straps so the’re out the top edge of the main piece.
3. Carefully fold over the main piece, or lay the second main piece over all the straps (with right sides together).
4. Pin along the strap’s ends and in-between, then sew along both long sides and along the top—just far enough to stitch down the top long straps, but leaving an opening where all the straps are sticking out.

Now you should be able to turn the whole thing right-side out, where you’ll see two long straps sticking out the top, two short straps sticking out the sides. Press with an iron, turning under and pinning shut your opening.

Top stitch around the top, and put an X through the middle for extra stability.

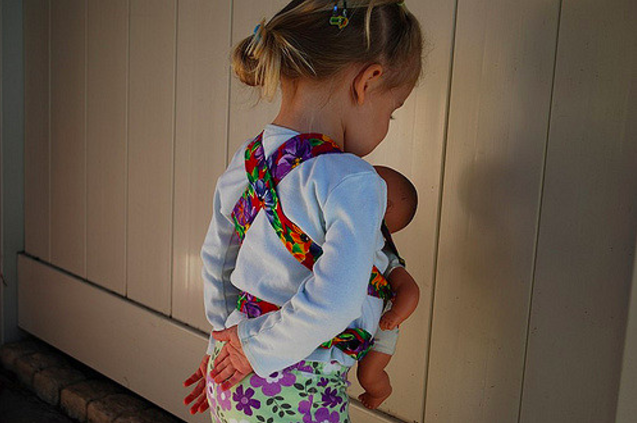
To wear, tie the short straps around the waist. Position a baby doll in front, then the long straps cross in back and tie in front. You can also wear a mei-tai on the back—simply reverse it, with or without crossing the straps.
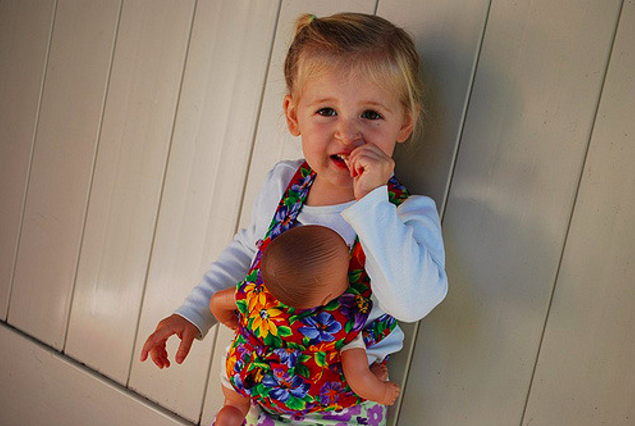
Voilà! Enjoy your little one as he or she wears their beloved baby doll.
The mini mei-tai makes a great big sister or brother gift when there’s a new baby coming, or for toddlers who love being worn by Mom or Dad and would like to wear their babies, too.


