Repurposing things is one of my favorite ways to get creative. There’s just something extra fun and special about taking a perfectly good item and completely changing its calling in life!

Today I’m going to show you how to make a very simple, yet adorable little tote bag. I made it specifically to fit my daughter’s Bible study book so she can feel all grown-up, like the ladies at our Community Bible Study who bring their book in a cute tote.
All it took was an old ribbon, and a few supplies to transform this simple Ikea dish towel into a cute bag (and it was done in less than one Gilmore Girls episode, I might add!). This would make a great gift, and it’s simple enough to get a kid involved in the creation.
Read on for the tutorial.
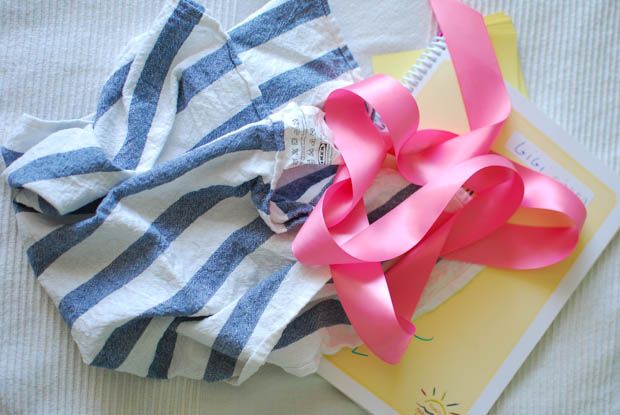
How to repurpose a dish towel into a tote bag
Supplies:
- dish towel of your choice
- 2 ribbon pieces cut to desired length for tote straps
- the basics: sewing machine, thread, scissors, pins, iron
Instructions
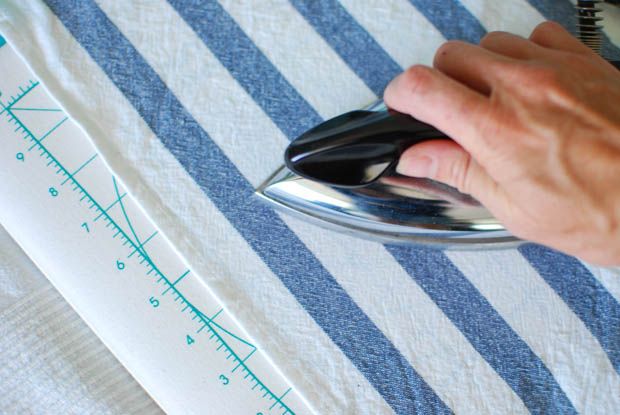
1. Start by pressing your dish towel and cutting off any tags or hanging loops. After ironing, fold your towel in half with the right sides together. You’ll have finished edges on 3 sides and a fold at the bottom.
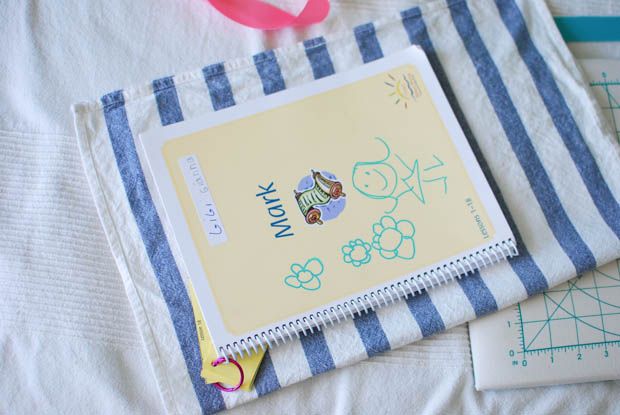
2. Next, figure out the size you want. For an adult, the towel might already be the perfect size. For a child’s tote bag, adjust accordingly. I used my daughter’s book as a rough template, and cut off a few inches on one side.
The benefit of using the towel full-size is that you will have nice finished edges on the inside of your bag, but I didn’t think my 6-yr old would mind one of the inner seams being rough (I just trimmed with pinking shears to help deter fraying).
![Repurpose a dish towel into a tote bag [SimpleMom.net]](/content/images/wp-content/uploads/2013/10/dish-towel-tote-bag-41.jpg)
3. Sew each side of your bag from the top finished seam down to the folded edge (use pins to secure if you want to keep the pattern aligned or if you need a little guidance). Leave a good 5/8 inch seam allowance on each seam.
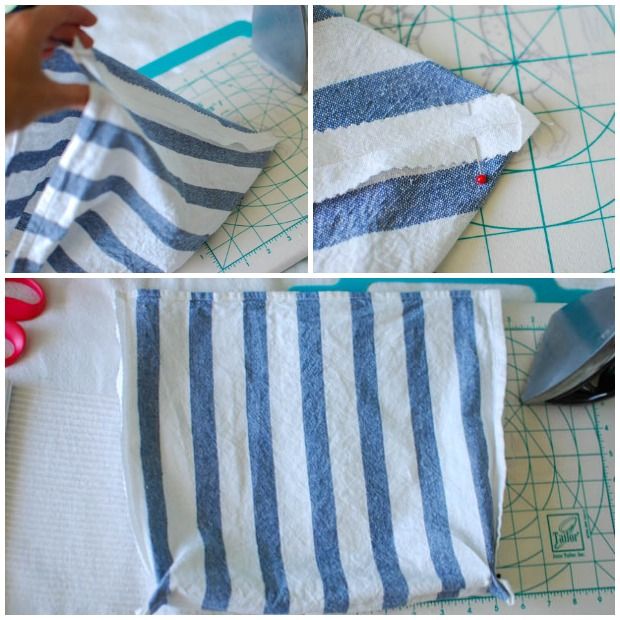
4. The next step is to create a squared bottom on your bag. You’re going to want to open your bag (still inside out) and lay one of the side seams down, lined up with the bottom fold of the bag (see top left photo). Press the corner into an even triangle. You’re going to pin a straight line (see top right photo) that will determine how wide the bottom of you bag will be. I measured 1 inch from the triangle point to give a small bottom to my bag.
The bottom photo above shows both sides pinned to give you a better idea of what you are doing. You will sew a straight line exactly where your pins are on both sides. If you want, you can trim off the triangle after sewing, but I left mine there.
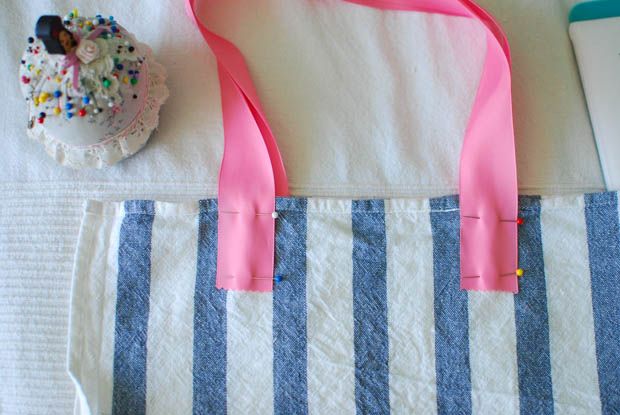
5. Cut your ribbons to the desired length and pin them in place where you want them. Make sure to allow 2-3 inches of ribbon overlap on the fabric. Grosgrain would probably be more durable then satin ribbon, but feel free to use whatever you have on hand!
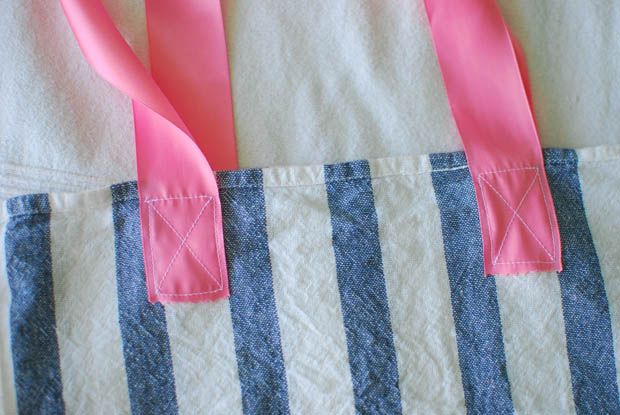
6. Finally, sew the ribbon straps in place. I like to do a rectangle with an X in it for durability (plus, it looks cute). Now, you’re ready to turn your bag right side out and fill it with books!
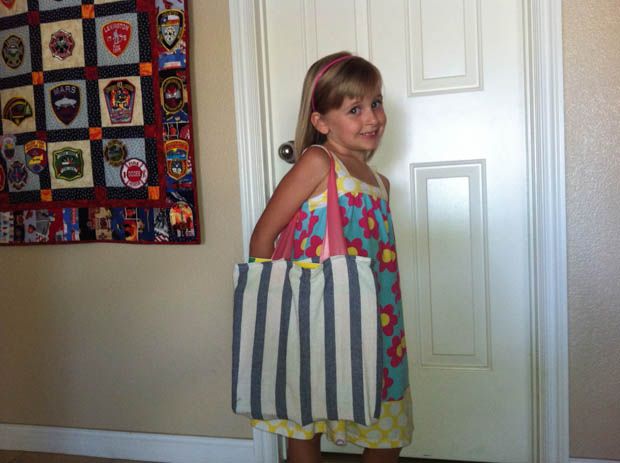
Gigi loved her tote bag!
I hope you enjoy this tutorial– I’d love to know, have you repurposed a dish towel for anything else?


